Monster Panel has the ability to manage server-level firewall rules. The goal of this article is to provide steps on how to manage these firewall rules.
Login to Monster Panel
The first thing you will need to do is log in to your Monster Panel, you can follow the documentation below on how to do this:
(How to login to Monster Panel)
Navigating to Firewall management
Once you have logged into the Monster Panel, follow these steps to get to the Firewall management feature:
-
Click “Server” at the top of the Monster Panel interface.

-
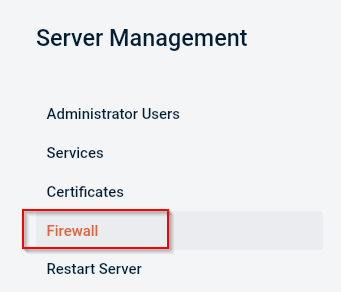
Click “Firewall” on the left side panel


Creating a new Group
This is an optional feature that allows you to organize firewall rules under a specific group name
-
Click “Create Group”.
-
Fill out the name of the group and then click “Create Group”.


Creating a new firewall rule
-
Click the “3 dots” under “actions”.
-
Fill out “Description” and “Destination Port”, if you want to lock the rule down to your IPs then add your IPs to the “Source” field.
-
Once that is all filled out then click “Create Rule”.


Editing Firewall rules
-
Expand the firewall group that has your firewall rules and click the rule that you want to edit.
-
Make the necessary edits and then click “Save Changes”.


If you have any questions or encounter issues, please don’t hesitate to reach out to [email protected].