Keeping your Windows server up to date is important for the stability and health of the Windows OS. To help with this, we can set up Automatic Windows updates. The goal of this article will be to show you the steps that you would need to take to set up Automatic Windows updates on your Windows server.
- Accessing Group Policy Editor
- Click “Windows start menu”, type “gpedit”, and click on “Edit Group Policy”.

- Navigating to the Windows Update Policy Settings
- In the Local Group Policy Editor, navigate to “Computer Configuration” → “Administrative Templates” → “Windows Components” → “Windows Update”.

- Configuring Automatic Updates
-
Find and double-click the “Configure Automatic Updates” setting.
-
Set it to “Enabled”.

-
Under Options, choose the appropriate option for how you want updates to be installed (e.g., auto download and notify for install, auto download and schedule the install).
-
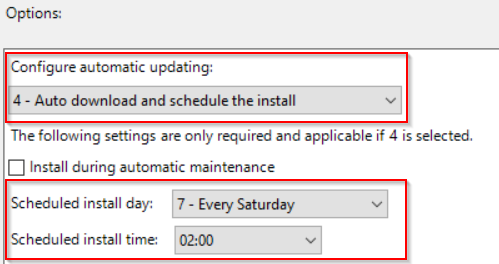
Here are the available configuration options:
Configure automatic updating
Scheduled install day
Scheduled install time
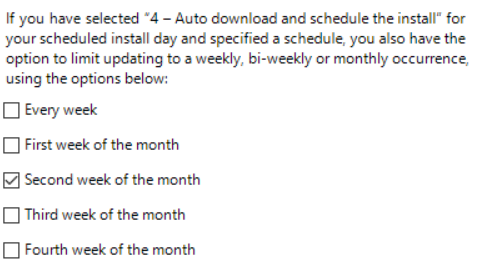
Select if you want this to be weekly, bi-weekly or monthly -
See Example of what this can look like below:
-
Once you get these settings set to the specific schedule that you would like for your updates then proceed to the next step.


- Applying the Settings
- Click “Apply”, then “OK” to save the settings.
- Finalize the Group Policy update
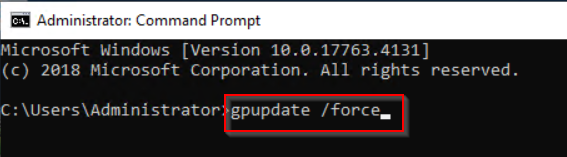
- Open up “Command Prompt”, type
gpupdate /force, then hit “Enter”.

If you have any questions or encounter issues, please don’t hesitate to reach out to [email protected].