xByte Hosting’s Billing Control Panel has the ability to invite sub-accounts. This allows you to add members of your organization to manage invoices, submit tickets, order new products, etc. The goal of this article is to give detailed instructions on how to invite users to your billing control panel and manage their permissions.
-
To begin, you must log in to the billing control panel. Below is our Billing Control Panel URL.
Billing Control Panel: https://billing.xbytehosting.com/
-
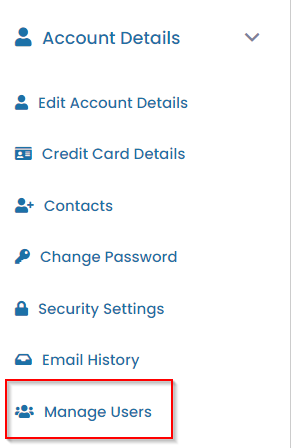
Click the drop-down for “Account Details” in the left panel.
-
Select “Manage Users”.
-
You will see an option for “Invite New User”. You would then enter the email address of the user that you are wanting to add to your account.
-
You will have the option between giving this user “All Permissions” or you select “Choose Permissions”. The options that you will see under Choose Permissions will be the following:
-
Once you decide on the permissions then you click “Send Invite”. This will send the Invite to the user and they will need to follow instructions on setting up their user.


